You found the perfect vintage leather bag—maybe a structured Coach from the ’90s at a flea market, or a buttery-soft Italian tote inherited from a friend’s mother. The price was right, the leather has that rich patina that only decades can create, and you can already picture it elevating every outfit from jeans to work dresses.
Then you get it home. The leather feels dry, almost papery in spots. There’s a scratch across the front flap that catches the light. The brass hardware is tarnished, and the interior smells faintly of stale perfume and dust. Your first instinct might be to reach for a leather conditioner you already own, slather it on, and hope for the best. Or worse, you might be tempted to use a damp paper towel and some dish soap to “clean” it up.
Stop right there. The most common mistake new owners of secondhand leather bags make is treating the bag like a new purchase that simply needs a quick polish. In reality, a vintage or secondhand bag has decades of history—and decades of grime, embedded body oils, and environmental pollutants—layered into its fibers. Applying conditioner before cleaning seals in all of that dirt. Using the wrong cleaner strips the leather of its natural oils, causing irreversible cracking. And ignoring the hardware means you miss the very details that give the bag its character.
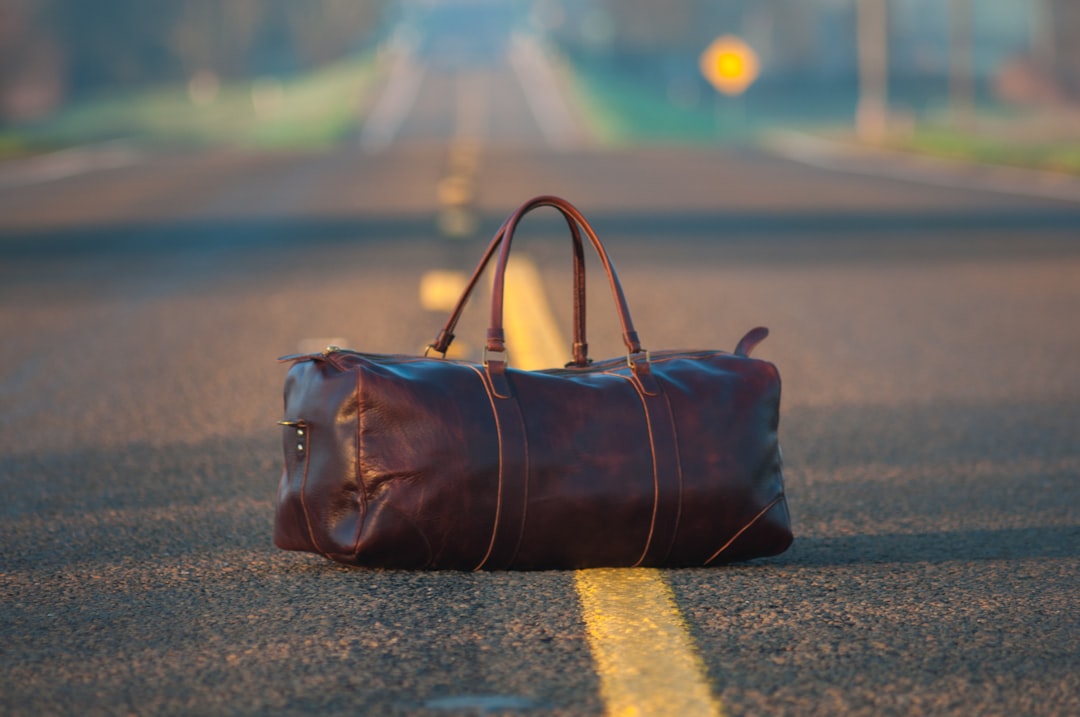 Photo by Jed Owen on Unsplash
This is where the repair-first philosophy comes in. Unlike fast fashion, which is designed to be replaced, a quality leather bag is designed to be maintained. It wants to last another few decades. It just needs you to know the right order of operations, the right tools, and the patience to let each step do its job. Here is your complete playbook for reviving a secondhand leather bag—without ruining it in the process.
The Case for Repair-First: Why You Bought This Bag in the First Place
Before you even pick up a cleaning cloth, it’s worth understanding why the repair-first approach matters. When you buy secondhand, you are already participating in circular fashion—keeping an item in use and preventing it from ending up in a landfill. That’s the whole point. But circularity doesn’t end at the point of purchase. The most sustainable item you own is the one that lasts the longest in your custody.
A leather bag is uniquely suited to this philosophy. Unlike a cotton t-shirt that eventually thins out, or a pair of sneakers whose soles wear down, quality leather is a durable, repairable material. Scratches can be buffed. Color can be refreshed. Hardware can be replaced. The structure can be rebuilt. When you buy a secondhand leather bag, you’re not just buying a bag—you’re buying the potential for another decade or two of use, provided you treat it with the same care its previous owner (or owners) should have.
This mindset also saves you money. Professional leather cleaning and conditioning can cost anywhere from $50 to $150 per session. Replacing a scratched bag with a new one costs even more. Learning to do basic maintenance at home—the kind of work this guide covers—means you invest in a few quality tools once and use them for years across every leather item you own. The same conditioner that revives your thrifted tote also works on your secondhand leather jacket.
Step One: Assess Before You Touch
The golden rule of any leather restoration project is simple: do no harm. Before you apply any product, you need to know exactly what you’re working with. Take your bag to a well-lit window or use a bright desk lamp. Examine it carefully, inside and out.
Check the leather type. Is it smooth full-grain leather, suede, or patent leather? This guide focuses primarily on smooth leather, which is the most common material for vintage handbags. If you have suede, stop here—suede requires a different cleaning process using a suede brush and eraser, not liquid cleaners or conditioners.
Check the condition. Is the leather soft and supple, or stiff and brittle? Does it have a waxy finish that seems to sit on top of the surface, or is it matte and absorbent? Run your fingers across the surface. Does it feel dry? Are there areas where the color has worn away to reveal a lighter base layer? Are there any tears or holes in the lining, or damage to the stitching?
Check the hardware. Note whether the zippers pull smoothly, whether the clasps close securely, and whether any rivets or feet are loose. Tarnished hardware can be cleaned, but missing or broken hardware may need replacement—a job you can often do at home with basic tools.
Do the water test. If you’re unsure whether the leather has a protective finish, dab a tiny, barely visible drop of water on an inconspicuous spot—the bottom edge or inside the bag where it won’t be seen. If the water beads up and sits on the surface, the leather has a finish that will resist liquid cleaners. If the water absorbs quickly and darkens the leather, you’re working with unfinished, absorbent leather that requires gentler treatment.
Step Two: Clean, Don’t Just Wipe
Once you’ve assessed the bag, it’s time to clean. This is the step most people skip, and it’s the step that matters most. As mentioned earlier, applying conditioner to a dirty bag seals in grime, creating a sticky, dull surface that attracts even more dirt over time.
What You’ll Need
- A soft horsehair brush or a clean, dry microfiber cloth for dusting
- A dedicated leather cleaner (look for pH-balanced options like Leather Honey Cleaner or Fiebing’s Saddle Soap)
- Distilled water (tap water can leave mineral deposits)
- Cotton swabs for detailing
- A second microfiber cloth for drying
The Cleaning Method
Start by removing any loose dirt and dust from the surface. Use the horsehair brush in gentle, circular motions over the entire exterior. Pay special attention to creases and seams where dust tends to accumulate. If the bag has a fabric lining, you can also vacuum it gently using a soft brush attachment, or turn it inside out and shake it well.
Next, dampen a microfiber cloth with distilled water and add a small amount of leather cleaner—about the size of a pea. Test the cleaner on an inconspicuous spot first, like the bottom edge or inside the bag. Work it into the leather using small, circular motions. You should see a light lather form. This lather is lifting dirt and old body oils out of the leather’s pores. Wipe it away with a clean, damp cloth, then dry the area with a fresh towel.
For stubborn marks—ink stains, heavy scuffs, or darkened areas around the handles—dip a cotton swab in the cleaner and gently work the stain. Be patient. You may need several passes. Avoid the temptation to scrub aggressively; leather is fibrous, and excessive friction can damage the surface.
If your bag has a fabric lining that needs refreshing, use a 50/50 mix of distilled water and white vinegar in a spray bottle. Lightly mist the lining (being careful not to saturate it, especially if it’s attached to leather panels) and wipe with a clean cloth. The vinegar neutralizes odors and kills bacteria without leaving a strong residue.
Once the entire bag is clean, let it air dry completely in a cool, well-ventilated area away from direct sunlight or heat sources. This can take anywhere from a few hours to a full day, depending on the leather’s absorbency. Do not use a hairdryer or place the bag near a radiator—rapid drying causes leather to shrink and crack.
Step Three: Condition to Restore Suppleness
Conditioning is where the magic happens. This is the step that transforms a dry, brittle bag into a supple, luxurious accessory. But it’s also the step where people make the most mistakes.
Choosing the Right Conditioner
Not all conditioners are created equal. For vintage leather, you want a conditioner that penetrates deeply and restores oils without leaving a heavy, waxy residue on the surface. Look for products containing natural oils like neatsfoot oil, mink oil, or lanolin. Avoid silicone-based conditioners, which sit on the surface and create a fake shine that attracts dirt.
Two reliable options are Leather Honey Leather Conditioner, which is made from natural ingredients and is highly absorbent, and Bickmore Bick 4 Leather Conditioner, which is lighter and good for more delicate leathers. For a bag that needs serious revival, Leather Honey is your best bet. For regular maintenance on a bag that’s in decent shape, Bick 4 is gentler.
The Application Technique
Apply the conditioner sparingly using a soft, lint-free cloth. You want a thin, even layer—not a thick coating. Work it into the leather using gentle circular motions, paying extra attention to areas that feel particularly dry: the handles, the corners, and any creased areas where the leather bends.
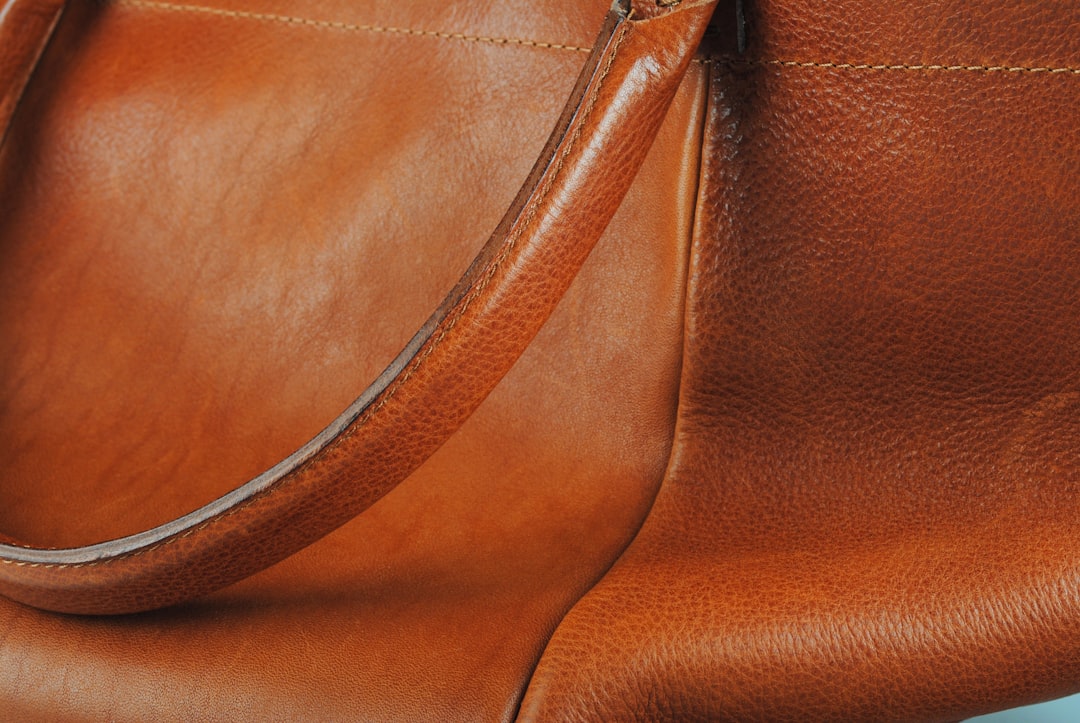 Photo by Kristian Bøgh on Unsplash
Here’s the key: less is more. You can always add another layer, but you can’t easily remove excess conditioner. A thick layer will leave the leather feeling greasy and attract dust. After applying, let the conditioner absorb for at least 15–20 minutes. Then buff the surface with a clean, dry microfiber cloth to remove any excess and bring out a subtle shine.
For a bag that’s extremely dry, you may need to repeat the conditioning process two or three times over a few days, allowing each layer to fully absorb before applying the next. This slow, patient approach is far more effective than one heavy application.
A note on frequency: How often should you condition a leather bag? It depends on the climate and how often you use it. In dry climates or during winter months when indoor heating strips moisture from the air, you may need to condition every 2–3 months. In more humid climates, once or twice a year is sufficient. A good rule of thumb: if the leather starts to feel dry or look dull, it’s time to condition.
Step Four: Address Scratches, Scuffs, and Structural Issues
Now that your bag is clean and conditioned, you can see its true condition. Minor scratches and scuffs are normal—they’re the patina that tells the bag’s story. But if you have deep scratches or areas where the color is worn away, there are ways to address them.
For Light Scratches
Many light scratches will actually disappear once the leather is conditioned, as the oils swell the fibers and help them bounce back. If a scratch remains visible, try buffing it gently with your fingertip or a soft cloth. The natural heat and friction from buffing can help blend the scratch into the surrounding leather.
For Deeper Scratches
For scratches that are visible as lighter lines, you can use a leather repair balm or a colored leather cream. Products like Fiebing’s Leather Dye or Angelus Leather Paint come in a range of colors. Test the product on an inconspicuous area first to ensure the color matches. Apply with a cotton swab or a fine brush, building up thin layers until the scratch is filled and blended. Finish with a light coat of conditioner to seal the repair.
For Color Restoration
If your bag has significant areas of color loss—perhaps the corners are worn down to the base leather—you have a few options. For subtle wear, a colored leather conditioner like Leather Honey’s Leather Cream can add pigment while conditioning. For more dramatic restoration, you may need to use a leather dye. This is a more advanced project that involves cleaning the leather, applying dye in thin layers, and sealing it with a finisher. If you’re not confident in your abilities, this is one job worth taking to a professional.
For Loose Stitching or Hardware
Check the stitching along the seams and handles. If you spot loose threads, don’t pull them—this can unravel the entire seam. Instead, use a needle and thread (waxed polyester thread is strongest) to carefully reinforce the area. If the bag has a missing or broken rivet, you can often find replacement hardware at a leather supply store or online. Removing and replacing hardware typically requires basic tools like pliers or a screwdriver.
For Odors
If your bag has a musty smell from storage, clean the interior as described above, then place a small open box of baking soda inside the bag and leave it for 24–48 hours. You can also use activated charcoal sachets, which are excellent at absorbing odors without adding any scent of their own. Avoid fabric sprays or perfumes—they mask the odor temporarily and can leave a residue that attracts more dirt.
Step Five: The Maintenance Routine That Prevents Future Damage
Once your bag is clean, conditioned, and repaired, you want to keep it that way. The goal is to prevent damage before it happens, which is far easier than fixing it after the fact.
Store it properly. When you’re not using your bag, stuff it with acid-free tissue paper or an old t-shirt to help it hold its shape. Never store a leather bag in a plastic bin—leather needs to breathe. A cotton dust bag is ideal. Keep it in a cool, dry place away from direct sunlight, which can fade and dry out the leather.
Rotate your bags. If you use the same bag every day, it will wear unevenly. Give your bags a rest between uses so the leather can recover from the stress of carrying your daily essentials. This is especially important for bags with structured shapes.
Protect it from the elements. If you live in a rainy climate, consider treating your bag with a waterproofing spray designed for leather. Apply it after cleaning and conditioning, and reapply every few months or after heavy use. Just be aware that waterproofing sprays can darken some leathers, so test on an inconspicuous spot first.
The Care Routine Worth Keeping
The difference between a bag that lasts five years and one that lasts fifty years isn’t the price tag—it’s the care routine. A secondhand leather bag deserves better than a reactive approach where you only clean it when it looks dirty, or condition it when it feels stiff. The real secret is a simple, sustainable rhythm that takes less than 15 minutes per month.
Here’s what that looks like in practice:
Monthly: Give your bag a quick once-over. Dust it with a soft brush or microfiber cloth. Check the hardware for looseness. Empty out any receipts, pens, or loose coins—these are the culprits behind interior stains and hardware stress.
Quarterly: Do a deeper cleaning and conditioning session, following the steps in this guide. This is also a good time to check the stitching and address any new scratches or scuffs before they become problems.
Yearly: Do a full assessment. If the bag needs more serious work—recoloring, replacing hardware, or re-stitching—consider whether you can handle it yourself or whether it’s worth taking to a professional. A good leather repair shop can often work wonders for $50–$100, which is still far less than replacing the bag.
The beauty of owning a secondhand leather bag is that it comes with a history. Every scratch tells a story. Every softened corner is a sign of love and use. Your job isn’t to erase those marks—it’s to honor them by keeping the bag functional and beautiful for the next chapter.
When you buy secondhand, you’re making a choice that goes beyond your own wardrobe. You’re choosing to keep a well-made item in circulation, to value craftsmanship over convenience, and to build a wardrobe that reflects your values. The same repair-first mindset applies to your denim, your silk, and your cashmere. When you master the care routine for one material, you build the confidence to care for them all.
So go ahead—give your bag that monthly dusting, that quarterly conditioning, that yearly assessment. And the next time you see a beautiful vintage leather bag at a thrift store or online marketplace, you’ll know exactly what you’re capable of bringing back to life. That’s not just sustainable fashion. That’s the kind of care that makes sustainability possible.