You’re standing in the thrift store, the blazer aisle stretching before you like a sea of shoulder pads, orphaned buttons, and tweed that has seen better decades. You pull one off the rack—a navy wool number with gold buttons—and hold it up. The colour is perfect. The fabric feels substantial. You slip it on, and something goes wrong. The shoulders pinch. The sleeves end mid-knuckle. The lapels flop in a way that says “costume party,” not “power meeting.” So you put it back. Again.
This is the paradox of secondhand blazers. They offer the best chance at quality—vintage wool, real horn buttons, canvassed construction—for a fraction of the retail price. But they also come with the legacy of someone else’s proportions, someone else’s tailor, someone else’s idea of where a shoulder seam should land. The difference between a blazer that looks borrowed and one that looks bespoke comes down to knowing exactly what to check before you commit.
This checklist is built for that moment. It’s five questions, asked in order, that will turn your thrift-store blazer hunt from a guessing game into a systematic search. By the time you reach the register, you’ll know whether that jacket can be your next wardrobe cornerstone—or whether it should stay on the rack.
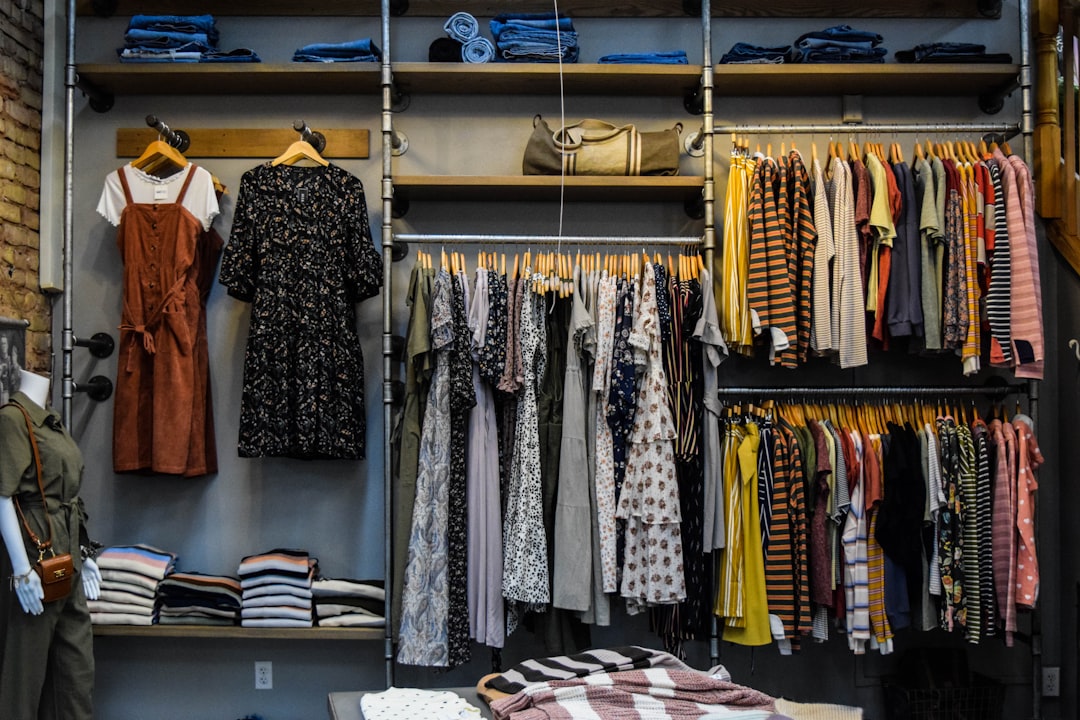 Photo by Burgess Milner on Unsplash
Step 1: Does the Shoulder Fit?
The shoulder is the non-negotiable. Everything else—sleeve length, waist suppression, hem—can be altered by a tailor. The shoulder seam cannot. If the seam sits off your natural shoulder line by more than half an inch, walk away. No blazer can be re-engineered to change its shoulder pitch.
What to check
- Seam placement: The shoulder seam should align with the bony point where your arm meets your torso. Not drooping down your bicep. Not creeping toward your neck.
- Range of motion: Raise your arms forward and to the sides. If the blazer pulls across your back or the collar lifts away from your neck, the shoulders are too narrow. If the fabric bunches at the top of your arm, they’re too wide.
- Collars and lapels: A proper shoulder fit keeps the collar flush against your neck. If the collar gapes or stands away, the jacket is fighting your posture.
When to take a chance
Vintage blazers (pre-1980s) often have narrower shoulders than modern cuts. If you find a piece with exceptional fabric—say, a Harris Tweed or a pure camel hair—and the shoulder is only slightly off, a tailor can sometimes adjust the shoulder seam by a quarter inch, but this is expensive and not always successful. For most shoppers, the rule holds: shoulders first, everything else second.
Brands to look for
- Brooks Brothers: Their traditional cut tends to have a clean, moderate shoulder that works on a wide range of body types.
- Ralph Lauren (Purple Label or vintage): Look for the “Polo” label on older pieces; the shoulder construction is often canvas rather than fused, which means it will drape better after alterations.
- St. John: Knit blazers from this brand have a softer shoulder that forgives fit imperfections, making them a good entry point if you’re new to blazer thrifting.
Step 2: Can the Sleeves Be Lengthened or Shortened?
Sleeve length is the most common alteration, and it’s usually straightforward—provided there’s enough fabric to work with. The rule of thumb: you need at least 1.5 inches of extra fabric inside the sleeve hem for lengthening, and you can shorten by up to 2 inches without distorting the armhole.
What to check
- The working button rule: Look at the sleeve buttons. If they’re functional (you can actually unbutton them), the tailor can shorten from the shoulder, which preserves the button placement. If the buttons are decorative, shortening must happen at the hem, which means the buttons will move up the sleeve. This looks fine if there’s only one button, but with three buttons, the proportions can shift awkwardly.
- The cuff allowance: Turn the sleeve inside out. Is there a deep hem? A standard tailor’s hem is about 1 inch. If the hem is 1.5 inches or more, you have room to lengthen.
- The ideal break: Your blazer sleeve should end at the wrist bone, showing about a half inch of shirt cuff. If the sleeve hits your knuckles, it’s too long. If it stops above the wrist, it’s too short—and unless there’s a deep hem inside, it’s a no.
When to skip
If the sleeves are too short and there’s no hem allowance, pass. If the sleeve buttons are decorative and the sleeves need significant shortening, the tailor will have to move the buttons—which can look odd if the original spacing was tight. Not impossible, but it adds cost and complexity.
Step 3: Is the Body Length Right for Your Torso?
Blazer length is a style choice, but within that choice, there’s a functional range. A blazer that’s too long will make your legs look shorter. One that’s too short will make your torso look truncated and can pull at the hips.
What to check
- The cupping test: Stand in front of a mirror. Does the blazer hem curve around your hips without pulling or gaping? If the front hem rides up or the back hem hangs lower than the front, the length is fighting your silhouette.
- The thumb rule: For a classic fit, the blazer hem should fall to the point where your thumb meets your hand when your arms are at your sides. For a cropped blazer (trendy but less versatile), aim for the top of your hip bone.
- The vent check: If the blazer has a center vent or side vents, make sure they lie flat. A vent that sticks out or gapes open often indicates the jacket is too tight at the hips or too long for your torso.
When to take a chance
A blazer that’s slightly long can be hemmed—but only if the lining allows it. Check the interior: if the lining is attached at the hem, the tailor will need to detach, shorten, and reattach it. This is standard work, but it adds $20–$40 to your alteration bill. For a blazer that costs $15, that’s still a bargain. For one that costs $60, factor it in.
Step 4: What’s the Fabric Condition Really Like?
This is where thrift-store blazers reveal their secrets. A blazer can look pristine on the hanger but have moth damage in the collar, fraying at the cuffs, or a stain that no dry cleaner can lift. You need to inspect like a pro.
What to check
| Area to inspect | What to look for | Dealbreaker? |
|---|---|---|
| Collar and lapels | Shine, discoloration, or fraying at the fold line | Shine from dry cleaning can be reduced with steam; fraying at the edge is harder to fix |
| Underarms | Sweat stains, deodorant residue, fabric thinning | Sweat stains in wool are nearly impossible to remove; thinning fabric will rip |
| Elbows | Pilling, thinning, or holes | Minor pilling can be shaved; holes require patching |
| Pockets | Rips at the corners, stretched fabric | Small rips can be stitched; stretched fabric may need reinforcing |
| Lining | Tears, especially at the armhole seam and hem | Lining replacement costs $50–$100; factor this into your budget |
| Button threads | Loose or missing buttons | Easy fix—but check that extra buttons are sewn inside the jacket |
The fabric test
Run your hand across the fabric. A high-quality blazer will feel dense and smooth, with a slight give when you pinch it. If the fabric feels papery, stiff, or has a synthetic sheen, it’s likely a low-fused construction that won’t drape well even after alterations.
Brands to look for
- Harris Tweed: Look for the Orb label. Genuine Harris Tweed is woven in the Outer Hebrides and is virtually indestructible. Even a stained tweed can be spot-cleaned.
- Loro Piana or Ermenegildo Zegna: These are luxury fabric mills that also produce ready-to-wear. If you find a blazer with either label inside, the fabric alone is worth the price of the jacket.
- Vintage Pendleton: Their wool blazers from the 1960s–1980s are often in pristine condition and feature distinctive plaid patterns that are hard to find today.
Step 5: Can the Waist Be Taken In or Let Out?
The waist suppression—how much the blazer curves in at your midsection—is the final fit adjustment. Most blazers have a center back seam and side seams, both of which can be altered. But the amount of available fabric matters.
What to check
- The pinch test: Pinch the fabric at the side seams, just below the armhole. If you can pinch an inch or more of excess fabric, the tailor has room to take it in. If the fabric is taut and you can barely pinch a quarter inch, the blazer is already at its limit.
- The center back seam: If the blazer has a center back seam, the tailor can take it in by up to 2 inches. This is the most common alteration for a boxy fit.
- The button stance: If the blazer is too tight and you need to let it out, check the seam allowance inside. A generous seam allowance (1 inch or more) means the tailor can let it out. A skimpy allowance (half inch or less) means it’s stuck.
When to skip
If the blazer is too tight across the chest or back, no amount of waist suppression will fix it. The chest measurement is the second non-negotiable after the shoulder. You can take in the waist, but you cannot add width to the chest. If the blazer pulls across your bust or back when buttoned, move on.
The Shortlist Criteria That Matter
Before you hand over your card, run this final mental checklist. If you can answer “yes” to all five, you’ve found a keeper.
| Question | Pass/Fail |
|---|---|
| Shoulder seam aligns with your natural shoulder line | ☐ Pass ☐ Fail |
| Sleeves can be shortened or lengthened within 1.5 inches | ☐ Pass ☐ Fail |
| Body length falls within your preferred range (classic or cropped) | ☐ Pass ☐ Fail |
| Fabric is free of irreversible damage (stains, holes, thinning) | ☐ Pass ☐ Fail |
| Waist can be taken in or let out by at least 1 inch | ☐ Pass ☐ Fail |
If you fail on shoulders or chest, let it go. If you fail on sleeves or waist but pass everything else, calculate the alteration cost. A good tailor can do sleeves for $25–$40, waist suppression for $20–$35, and hem shortening for $15–$25. If the blazer is under $30 and the alterations total less than $75, you’re still ahead of retail—and you’ll have a piece that fits better than anything off the rack.
Your Next Move: The Alteration Appointment
You’ve found your blazer. You’ve passed the checklist. Now take it to a tailor before you even wash it. A good tailor will:
- Pin the sleeves to the correct length while you wear your usual shirt.
- Mark the waist suppression based on how you plan to wear it (buttoned or open).
- Check the shoulder fit one more time and confirm it’s workable.
- Give you a timeline and a price quote before starting.
If you’re new to tailoring, start with a simple sleeve hem. It’s the least expensive alteration and the one that makes the biggest visual difference. Once you see how a properly fitted blazer changes your posture and confidence, you’ll understand why thrift-store veterans say a tailor is the best accessory you can own.
For more secondhand strategies, read our guide on how to thrift a cashmere sweater that actually holds up and our shopping checklist for a secondhand midi skirt. Both follow the same principle: know what to check before you buy, and let the tailor handle the rest.